“Discovered Apps” is now being replaced by “All apps”, and this is great news.
Discovered apps did not show real-time inventory. It only gave a count of what was installed across enrolled devices. It refreshed slowly and it only collected a basic set of data.
With the
April update...
Microsoft
changed both the upload model and the underlying data platform. The new app
inventory is built on the same modern data platform that device inventory
introduced. That platform was designed for continuous, high-frequency data
collection, which gives it more capacity and lower latency than what Discovered
apps ran on. The result is that data arrives in the portal faster and the
infrastructure can handle the volume of a constantly updating fleet without
degrading.
The agent only
uploads what changed since the last sync (not sending a full snapshot). This is
why multiple updates per day per device is possible without generating
proportionally more traffic.
Windows
devices get inventory updates multiple times per day. The agent does not wait
for the regular MDM check-in, App inventory uploads run on their own schedule
through the inventory channel.
For each
app, the agent now collects the following (if registered at install time):
- Install
path
- Install
date
- Uninstall
command
- Estimated
size on disk
- Architecture
(x86, x64, ARM64)
- Per-user
install scope
- Store-specific
identifiers
- Supported
languages
How it works...
You create
a Properties Catalog profile in the Intune admin center and assign it to
devices. Intune then hands it off to "MMP-C" (Microsoft Management
Platform – Cloud). MMP-C wraps the profile as a "Declared
Configuration document" (WinDC) and queues it for delivery on the next
device sync.
The
Declared Configuration model works on desired state. The device gets a document
that says what state it should be in and works toward that state. This is the
same channel that delivers hardware inventory policies and the same one that
Endpoint Privilege Management uses.
When the
document lands on the device, it installs the "Microsoft Device
Inventory Agent" if it is not there yet. The agent lives at C:\Program
Files\Microsoft Device Inventory Agent and runs as a Windows service
called "InventoryService".
The agent
uses WMI queries to collect application data and writes everything into a local
SQLite databases at C:\Program Files\Microsoft Device Inventory
Agent\InventoryService\ .
The first harvest runs after a random delay. That is by design. After that first harvest, everything is incremental. Once the data reaches the Intune backend, it shows up in the "All Apps" tab per device.
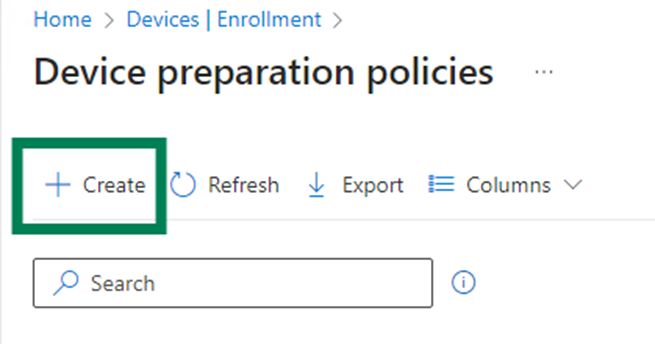
How to set
up...
You need
a "Properties Catalog device configuration policy" assigned to
corporate-owned Windows 11 devices enrolled in Microsoft Entra ID. Devices must
be either Microsoft Entra joined or Hybrid joined.

Click Next, and give it a name. Then click Next to get to Configuration properties.

Click on + Add properties
Here we have the extended properties
available for applications. Add all the properties available (Nothing is enabled by default). Enable the
app-related entities from the catalog.

Add scope
tags and assignments like any other configuration policy.
Once the
policy reaches a device and the agent finishes its first harvest, data starts
showing up in the All Apps tab on the next check-in. There is no policy status
report for Properties Catalog. You will not see a green success indicator like
you would for a settings catalog policy. You have to look at the device
directly in All Apps or Resource Explorer to confirm that data is coming in.
If you
delete the Properties Catalog policy later, the last collected data stays
visible in Device Inventory for up to 28 days before it clears.
The new App
Discovery experience
When going to a device in Intune (new device view experience), click on Tools and reports


Select "All Apps"

The new inventory view

You find the official documentation here:
App inventory for Windows devices - Microsoft Intune | Microsoft Learn