Microsoft has announced that Corporate device identifiers for Windows is now working:
01 July 2024
20 June 2024
Autopilot Device Preparation - Part 5 - Corporate Device indentifier
If you have followed my blogs on setting up Autopilot Device Preparation (ADP) but ends up with this error:
Well – then your company is blocking Windows Personal devices in Device platform restrictions.
When the
user logs in, the device is considered a Personal device. To overcome this
problem, Microsoft has announced the “Corporate identifier”.
The
Corporate identifier consist of Manufacturer, model and serial number.
The Corporate identifier can be uploaded as a .csv file.
To import a
Corporate identifier csv file, navigate to Devices > Enrollment and click on
“Corporate device identifiers”.
Click “Add” to select your csv file.
As
identifier type, select “Manufacturer, model and serial number (Windows only)”
Now your
device is considered a Company device, and ADP will run.
Remark
!!
When Corporate
identifier was introduced it didn’t work, so Microsoft pulled it back for some “work”.
So – if you want to test out ADP now, you have to allow private devices.
Microsoft is expecting that this feature will be available later this month.
14 June 2024
Autopilot Device Preparation - Part 4 - Monitoring
With Autopilot
Device Preparation (ADP) comes a new report, that works in (almost close to)
real-time.
The new report
can be found under Devices | Monitor. Windows Autopilot device
preparation deployments.
Here you
find summarized progress of deployments with deployment trends.
You can select a device and find details of
the device, Timeline of the OOBE, Profile name and version, Apps applied
with status and scripts applied with status.
Click on your device to find the deployment details.
Device details:
Apps details:Scripts details:
This new report is a huge improvement over Autopilot v1 reporting.
13 June 2024
Autopilot Device Preparation - Part 3 - User experience
In this part I will look at the user experience when we are using Autopilot Device Preparation (ADP).
Power up
the PC (or virtual machine).
The device will boot into the OOBE.
When you
come to “Choose your country or region”, choose your country and click Yes
On the next
screens, choose your keyboard layout and (probably) Skip the second keyboard
layout.
The next
screens were hidden in Autopilot v1, but due to ADP and the fact that the
hardware is not pre-registered to a tenant, we won’t get an Autopilot
profile until after the user sign-in, so
we will go through the whole OOBE.
But, some of these screens are skipped by using Enterprise.
EULA.
Shown for both Pro and Enterprise. And you have to accept to continue.
Name the
device.
This is only shown
for Pro, and it is problematic. We probably don’t want the user to name their
device.
Users must be informed that they must
click “Skip for now” (then we will have a powershell script to name the
device according to company standard).
Personal
or work/school.
This is only shown
in Pro. The user must choose “Set up for work or school” (otherwise the pc will
expect a consumer Microsoft account and not an Entra ID).
Sign in.
The pc is expecting the user to enter an enterprise account.
The Autopilot
(ADP) will take over and you will see the Setting up for work.
How does
the % completed work ? Well, Michael Niehaus has looked into that:
What is it with Microsoft and
progress bars? – Out of Office Hours (oofhours.com)
The
progress can also be followed in Intune (I will come into that in a later blog
post).
Required setup is complete.
Click on Next
Do you
think we are through ? Oh no, our user s have to go through all the next screens..
What you see is dependent upon windows version (Enterprise or Pro).
This is for Pro.
Use location
Find my
device
Diagnostics
Inking
and typing
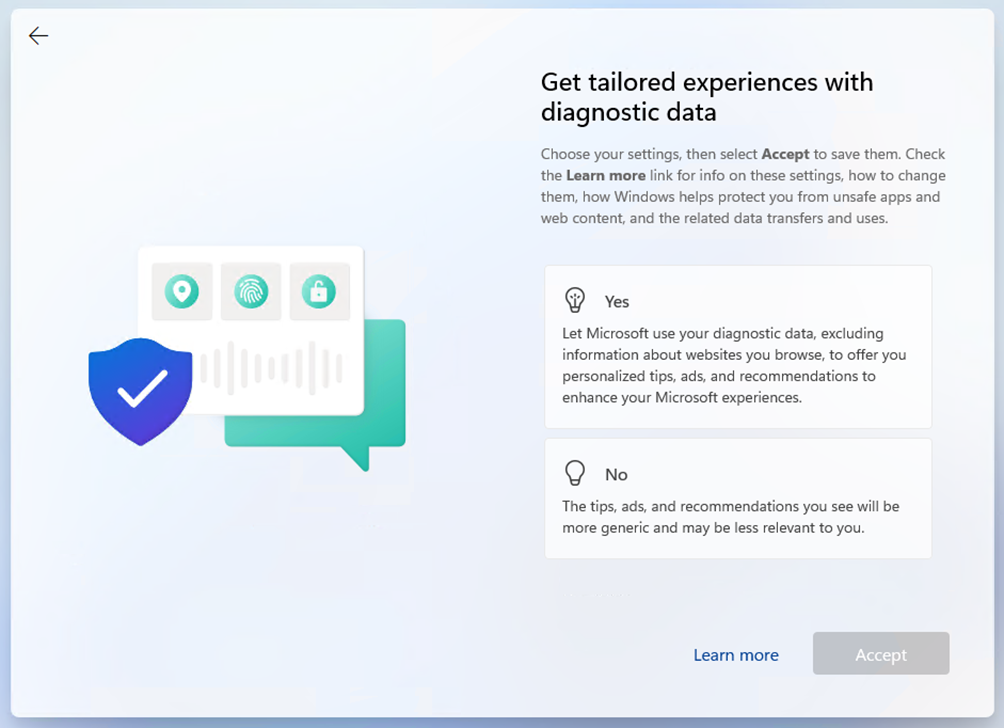
Tailored
experience
Advertising
ID
Finally…
now Checking for updates
Then....
We are ready
Some of all these screens can be avoided if you are running Enterprise.
Else.... that's a lot for the end user to go through.
12 June 2024
Autopilot Device Preparation - Part 2 - Getting started
In this blog post I will look at the steps in setting up Autopilot Device Preparation (ADP).
I will start with creating the groups, and then create the ADP profile.
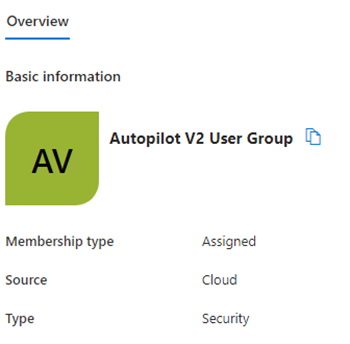
User security group
The ADP
profile will be targeted a User security group.
This is just an ordinary Entra ID security group, where the Membership type can
be either Assigned or Dynamic User.
As this is a test, I’ve chosen Assigned, and added my test users.
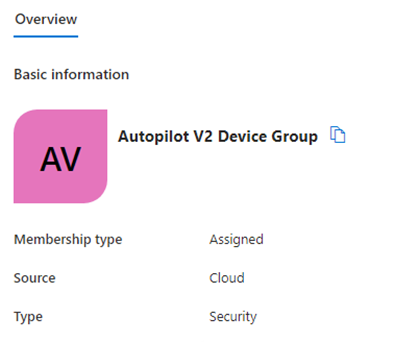
Device
security group
Then we
need to configure a device group for the “just-in-time enrollment grouping”.
When you enroll your device with ADP, the device automatically becomes a member
of this “just-in-time enrollment group”.
So, in
Entra ID, create a new security group where Membership type is Assigned.
The important thing here, is to add an Owner.
As owner, add “Intune Autopilot ConfidentialClient” (It may have a display name
of “Intune Provisioning Client, make sure that the service principal ID for the
is f1346770-5b25-470b-88bd-d5744ab7952c)
Windows
Autopilot device preparation
Now we are
ready to create the ADP profile.
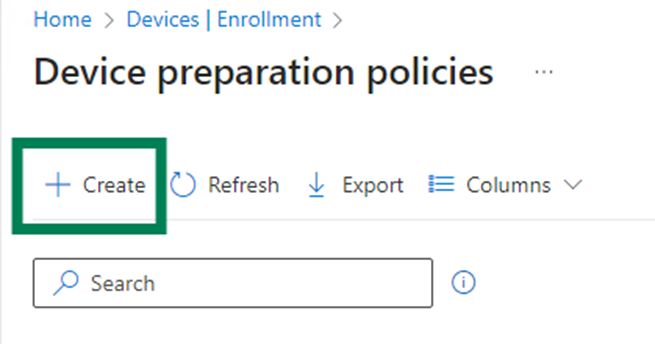
In the
Intune portal, go to Devices > Enrollment > Device preparation policies
Here we choose Create
On the Introduction page, click on Next.
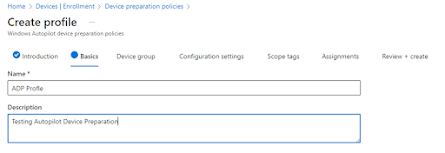
Basics
Fill in the name for the policy and click Next
Device Group
Enter the previously created device group and click Next
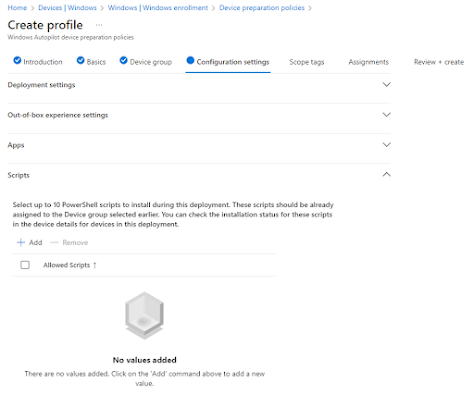
Configuration settings
This page has 4 configuration parts
Deployment settings
Not much to
configure here, as ADP only supports Single user, User driven and Azure AD
joined at the moment. But you can choose if the user can be an administrator or
Standard user.
Out-of-box
experience settings
Minutes
allowed before showing installation eror:
Default is 30 minutes. Enter a number of minutes that you are sure are enough for
setup and installation of Apps.
Apps
Add the
apps you want to be installed during OOBE.
These apps should be assigned to the device group.
There can be multiple apps assigned to the device, but the apps selected here
will be installed during OOBE, the rest of the apps will not be installed until
the user logs in.
Scripts
Like Apps,
you can select sripts you want to be ran during the OOBE.
Scope tags
Here you
add additional scope tags.
Assignments
Enter the user group created earlier
Hit Save and we are through and ready to go.
In next blog post I will go through the User experience.
11 June 2024
Autopilot Device Preparation aka Autopilot v2 - Part 1
Microsoft is currently rolling out “next generation of Autopilot” called Autopilot Device Preparation.
I will, in a
series of blogs, walk you through what’s new, comparing Autopilot v1 and
Autopilot v2, requirements and how to setup and use.
What is Autopilot Device Preparation (ADP) ?
Autopilot Device
Preparation (ADP) is the successor to Windows Autopilot (Autopilot) as we know
today. Autopilot is not being replaced
but will work side-by-side with ADP and there is no need to migrate from Autopilot
to ADP.
ADP
supports personal and corporate device ownership.
Because of the support for personal device ownership there is no need for
hardware hashes as we know from Autopilot.
But… as most of us will not allow personal devices by using device platform
restrictions, enrolling a device with ADP will fail.
In this scenario we will use Corporate Device Identifiers (I will dig in to
this later).
Difference
|
Autopilot |
Autopilot Device Preparation |
|
Hardware Hash required |
No Hardware Hash required |
|
Autopilot Profile downloaded
before sign-in |
Profile downloaded after sign-in |
|
The old ESP |
Less complex ESP |
|
Autopilot Profile assigned to
devices |
Device Preparation Profile
assigned to users |
|
Pre-Provisioning & Self-deploying
possible |
No Pre-Provisioning & Self-Deploying |
|
ESP Tracking |
BootStrapper Tracking (status/apps/scripts) |
|
Hybrid support |
NO hybrid |
|
Windows 10 & 11 |
Windows 11 |
Requirements
Windows 11
22H2 with KB5035942
Windows 11 23H2 with KB5035942
User security group
Device security group with a particular owner
For more
details, read the official Microsoft documentation
Windows Autopilot device preparation
requirements | Microsoft Learn
In Part 2 I will go through the steps in setting up ADP.


